Texture Scatter Triplanar X1


  • Where to find it:


    • Add Procedural Layer / Procedural / Extension Pack / Generators


    • NodeGraph / Right Mouse Click / Add Nodes / Procedurals / Extension Pack / Generators


This Node is also available as a 2D Version


Texture Scatter Triplanar X1 is a complex seamless texture bombing node, working in 3D Space.


Tips


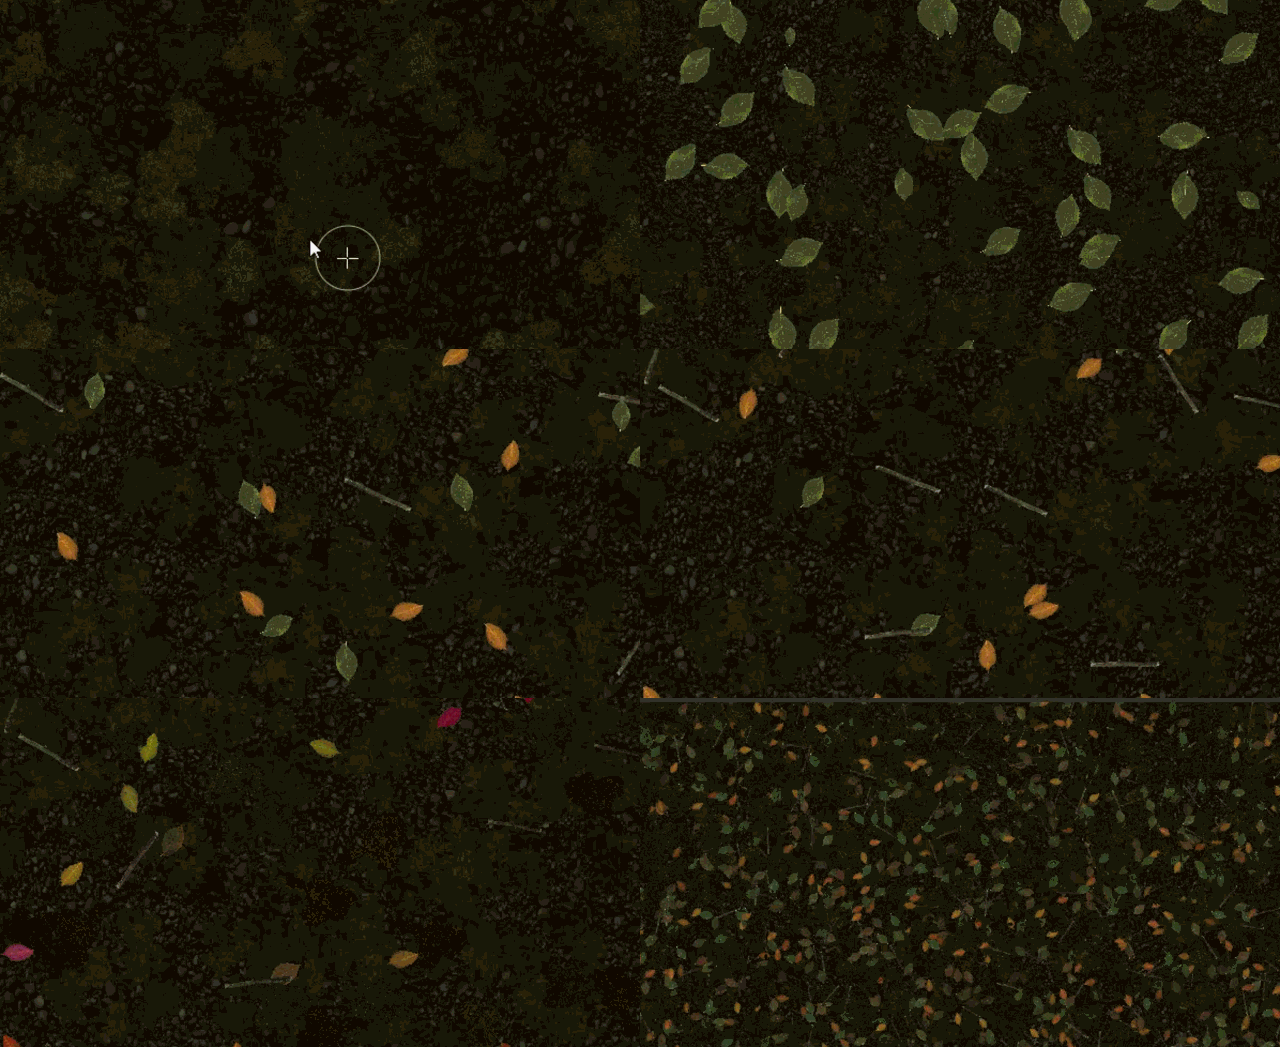
DO NOT KEEP LIVE UNLESS CACHED OR HIDDEN


Texture Scatter  Nodes are meant to be converted to paintable layers.

Due to their impact on viewport performance it is absolutely not recommended to keep them live unless cached or hidden.


  • Increasing the Layer count is linearly reducing your performance - twice the amount of layers, half the performance.

It is recommended to complete your basic settings with a lower layer count, then up the count as a last step.


  • Increasing the Density does not affect performance too much


  • Try to cache,flatten or hide one Texture Scatter Node before creating a second one.


  • 'Clumping' will generally be less pronounced with 'Force Tileable' turned off.

This is due to the much more random distribution of textures when not creating tileable textures.


  • Use the Layer Attenuation feature to get proper value layering for bump, displacement or normal maps.


Videos


A full demo & tutorial for an older version of one of the 2D Versions of this node (still fully applicable) is available here:


Updates with Extension Pack 4 are covered here


Node Overview


Node Ports


  • Bake Point Image

The Bake Point Image Port allows you to feed data into the Node from upstream nodes that have been baked via a bake point into the Node.

When the node is evaluated, the Bake Point attached to the Port will be sampled and the UDIM 1001 Image will be transferred into

the Image Attribute of the Node.


This allows you to create patterns and textures via a nodegraph and use them directly inside this node with an element of non-destructivness


Example of using a Nodegraph and a Bake Point to dynamically feed a Pattern Generator Node with Node Inputs


  • Manifold 3D

When mapped the world space position the node uses to calculate the projection is supplied by the port.

This can be used for example to apply warping to the projection using Manifold Nodes


  • 3D Scale (XYZ)

When mapped 

    • the red channel of the attached connection is used to drive the 3D Scale Attribute for the front part of the projection.
    • The green channel of the attached connection is used to drive the 3D Scale Attribute for the top part of the projection.
    • The blue channel of the attached connection is used to drive the 3D Scale Attribute for the right part of the projection.


  • 3D Rotation (XYZ)

When mapped the red channel of the attached connection is used to drive the Rotate X Attribute,

the green channel the Rotate Y Attribute and the blue channel the Rotate Z Attribute


  • UV Scale (UV)

When mapped the red channel of the attached connection is used to drive the UV Angle X Attribute,

the green channel the UV Angle Y Attribute and the blue channel the UV Angle Z Attribute


  • UV Angle (XYZ)

When mapped the red channel of the attached connection is used to drive the UV Rotation Right Attribute,

the green channel the UV Rotation Top Attribute and the blue channel the UV Rotation Front Attribute


  • UV Offset (UV)

When mapped the red channel of the attached connection is used to drive the U Offset  Attribute,

the green channel the V Offset Attribute


  • Jitter Noise

By default the Edge Blending Jitter (found in the Triplanar Settings) uses a node internal noise to perform its jittering/randomization of edges.

By attaching a noise of your choosing to the Jitter Noise Connection in the Nodegraph you can overwrite this

internal noise.


  • Edge Falloff

Allows you to overwrite the Edge Falloff Attributes of the Texture Maps in the Scatter with a Node Connection


TIP


Try mapping the edges with values over 1 to get a more pronounced contrast in the falloff


  • Edge Softness

Allows you to overwrite the Edge Softness Attributes of the Texture Maps in the Scatter with a Node Connection


  • Edge Roundness

Allows you to overwrite the Edge  Roundness Attributes of the Texture Maps in the Scatter with a Node Connection


Any value fed in through the Edge Ports on the Node is still multiplied

against the corresponding Edge Slider  in the Texture Groups of the Node.


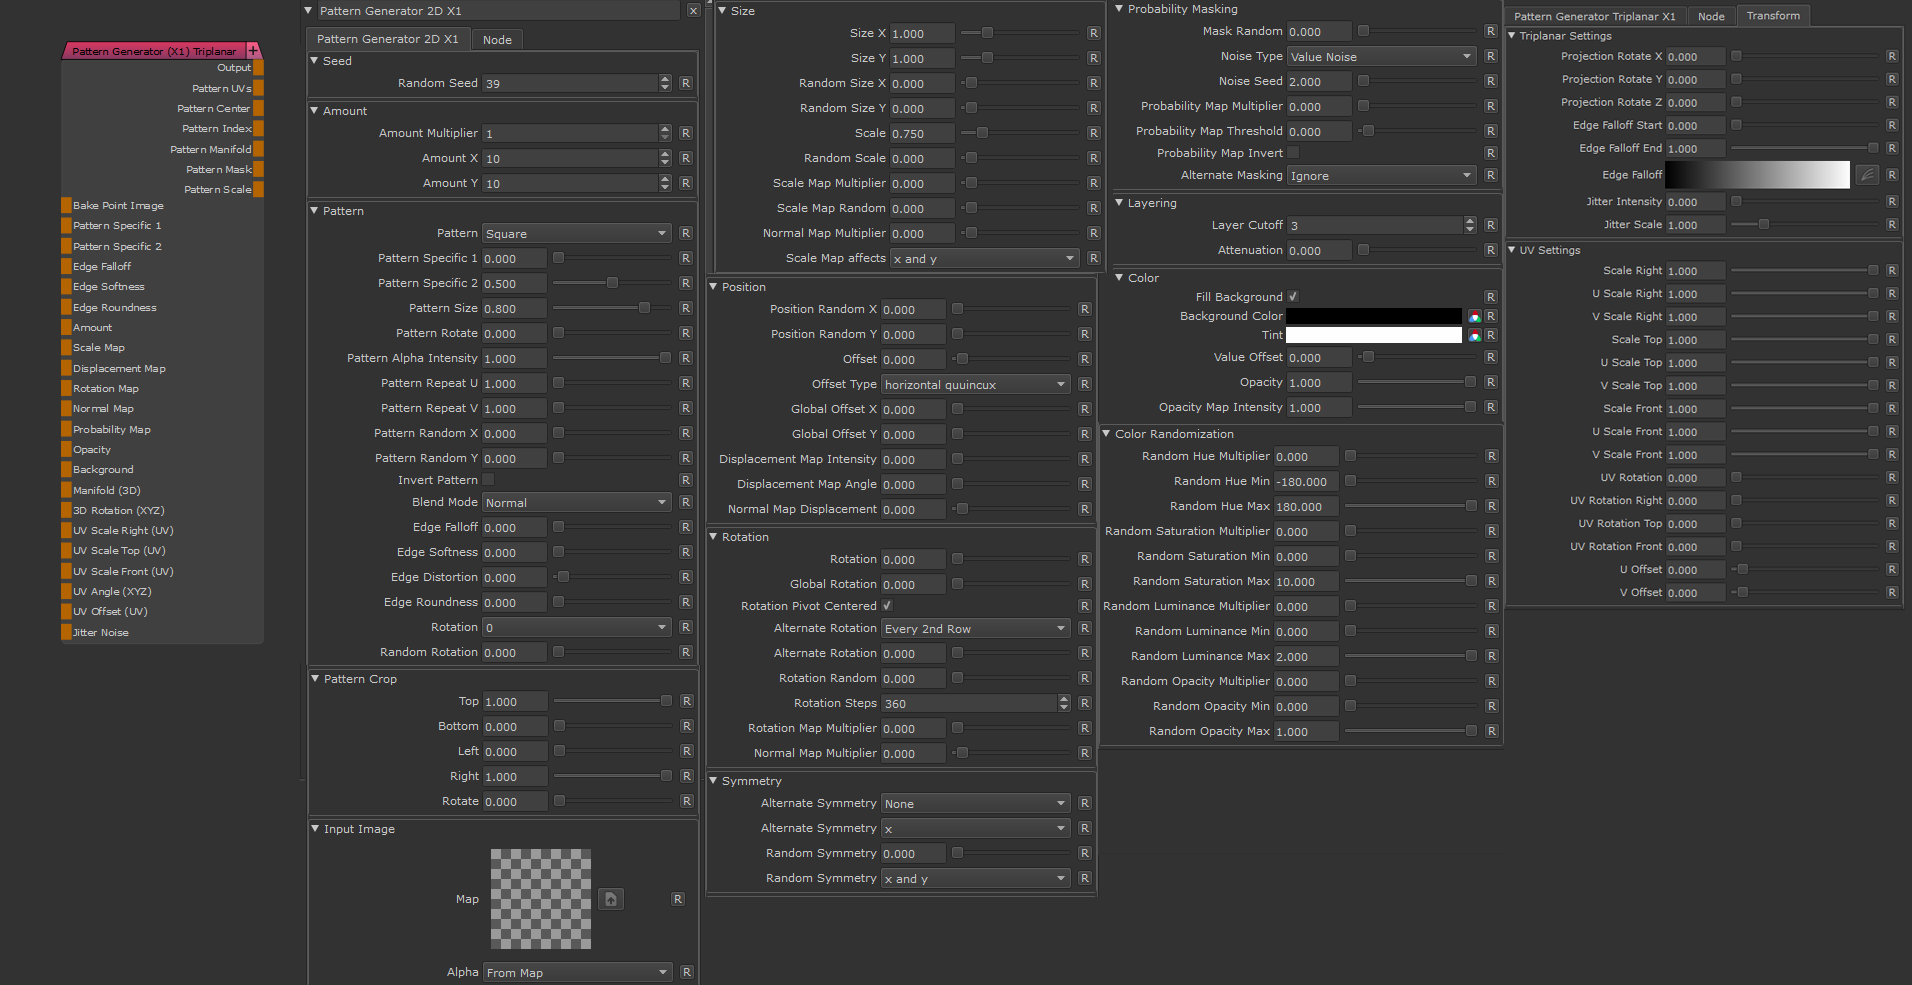
Node Properties


MAIN TAB


  • Triplanar Scale

A multiplier on the Triplanar 3D Scale found in the Triplanar Settings under the Transform Tab


  • UV Repeat

A multiplier on the UV Repeat found under the UV Settings in the Transform Tab


  • Density

A multiplier against the Cell Density Attribute found under the Cell Tab


  • Layers

A multiplier against the Layers Attribute found under the Cell Tab


  • Fill Background

If on, the background will be filled with the Background Color


  • Background Color

The Background Color to use for filling the background if Fill Background is checked


  • Texture Map

The Texture Map to be used for each slot. Transparency is supported.


    • It will help performance to keep texture resolutions used here to a reasonable size like 256,512 or 1k.


  • Invert Map

Inverts the Texture Map used in the respective Texture Slot.


  • Alpha

Determines the way the alpha of the texture slot should be evaluate:


    • From Map

The Transparency in your loaded texture map is used


    • Alpha is Luminance

The Luminance of your loaded texture map is used as Alpha.

Black is transparent.


    • Alpha is Inverted Luminance

The inverted Luminance of your loaded texture map is used as Alpha.

White is transparent.


  • Hue/Sat Shift Mix

Allows you to set per texture how much of the random Hue & Saturation Shift should be mixed in.

This is helpful to keep one of your maps closer to their original color without loosing variation on the other maps.


  • Value Shift Mix

Allows you to set per texture how much of the random Value Shift should be mixed in.


  • Edge Falloff

Will contract the edges of your loaded textures. This attribute can also be mapped via the Nodegraph.

Please note that in this case this slider will act as a multiplier.


  • Edge Softness

Will feather the edges of your loaded textures from the start of the Edge Falloff to the center of your texture.

This attribute can also be mapped via the Nodegraph. Please note that in this case this slider will act as a multiplier.


  • Edge Roundness

Switches the Falloff from Square (0.0) to Radial (1.0).

This attribute can also be mapped via the Nodegraph. Please note that in this case this slider will act as a multiplier.


CELL TAB


Other than modifying the UV Settings, changing the density will create more 'unique' cells.


  • Density

Determines how many cells will be filled with a texture. Overlap between cells is minimal.

Cells are generated regardless so increasing this value does have a large negative impact on your performance.


  • Layers

The amount of times the texture bombing runs. Increasing layer count will cause cells to overlap each other so it is 

great for creating chaotic distribution such as fallen leaves.


    • Increasing the Layer count is linearly reducing your performance - twice the amount of layers, half the performance.

It is recommended to complete your basic settings with a lower layer count, then up the count as a last step.


If you have to, you can enter numbers outside the slider range to get even more layers


  • Clumping

Clumping will remove textured cells to create clusters of features.

This Clumping slider is a global multiplier on the Clumping Sliders under groups 'Texture Map A' , 'Texture Map B' etc.

Please note that turning the Force to Tilable Mode off will result in a change in clumping behavior.

Due to the more random distribution of this mode, clumping will be a lot less pronounced.


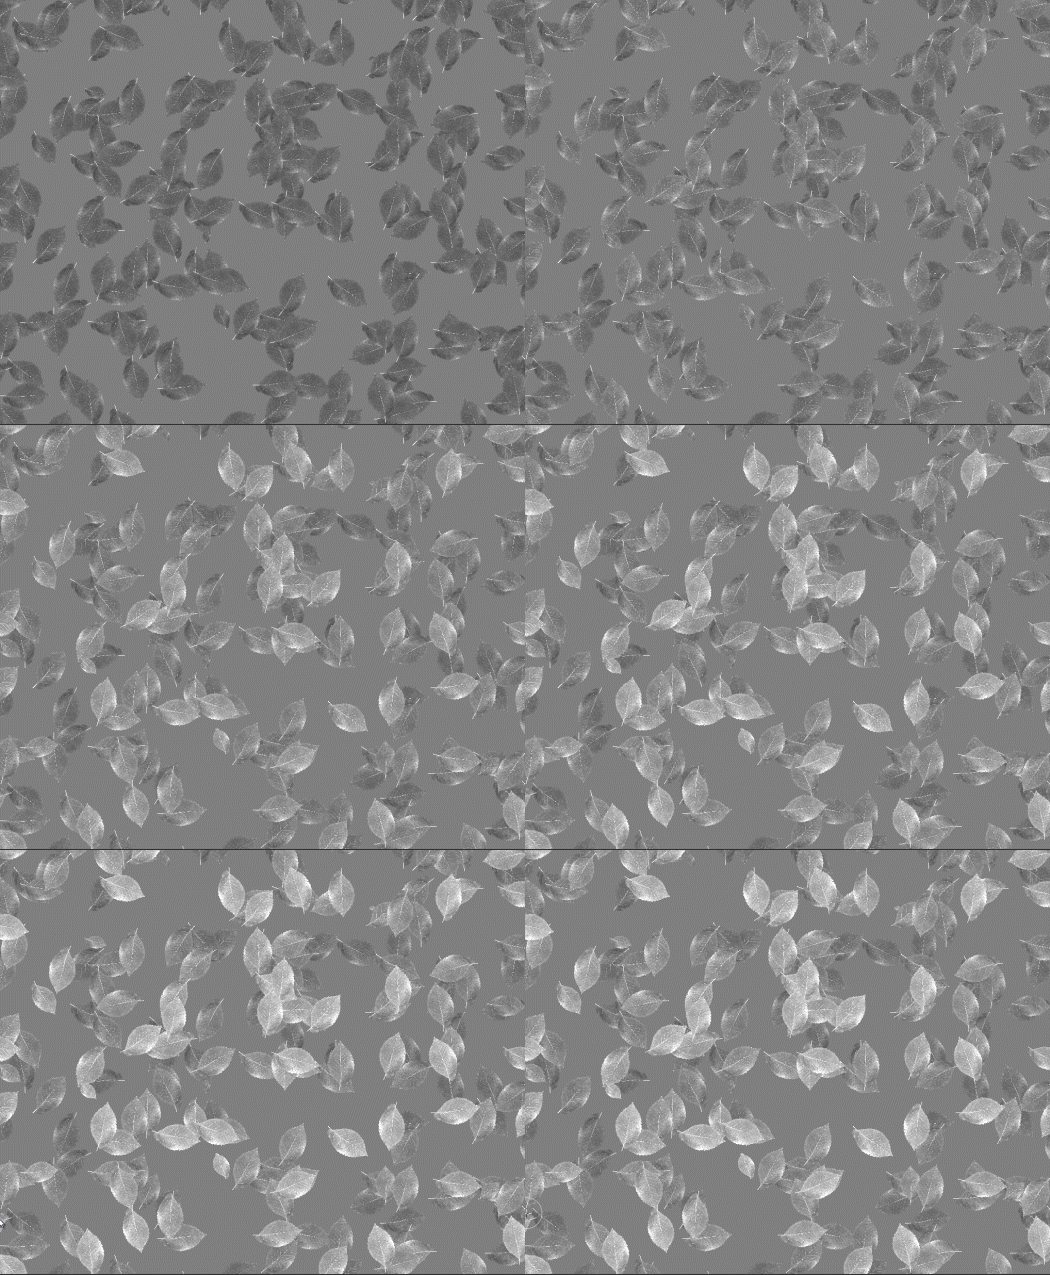
Effects of Clumping with 'Force to Tilable' on (left) and off (right):


  • Noise

Determines the size of the Noise to be used to generate the cells and acts a little like a 'Seed' value.

Depending on your settings, density of textures might change a little.


  • Force to Tileable

With Force to Tileable turned on you will create a perfectly tileable texture when using it on a plane with full uv coverage 

(such as a plane created in Maya).


Turning it off will change the internal algorithm that is used to place textures, applying an offset for each added layer.

This will create more random distribution but will no longer be tileable.


Please note, depending on your entries in the UV Settings Group it is still possible that the result may no longer tile.


  • Scene Size

Scene Size is a multiplier for the Scale Values below allowing you to compensate for large or small scene sizes

by effectively changing the slider ranges.


  • Cell Scale

The Scale of each texture's gridcell


  • Cell Coverage

The Size of each texture within a gridcell


  • Randomize Scale

Introduces random scaling of textures.

This will not rescale the original grid cell but will just change the size of the texture within in the cell.

This can lead to gaps in your coverage.


  • % Original Scale

A percentage of all generated textures that should be kept at original size, set under 'Global Scale' Group.


  • Min Rotation

Minimum Rotation of each texture within its cell. 


  • Max Rotation

Maximum Rotation of each texture within its cell.


HSV TAB


  • Cell Blend Mode

Different from the Layer Blend Mode, this determines how the cells are blended together between each other.


  • Min / Max Hue

The minimum and maximum hue shift variation in degrees on a color wheel.


  • Min / Max Sat

The minimum and maximum saturation variation.


  • Min / Max Val

The minimum and maximum value variation.


  • Clamp

Some Cell Blend Modes such as Add can cause combined values of cells to go over 1.0. Clamp will clip the

resulting values below 0.0 and above 1.0


  • Value Offset

A global value shift on all textures. This is very useful together with Layer Attenuation to control Value buildup for bump or

displacement maps.

Note that Value Shift Mix on each each texture slot needs to be at 1.0 for it to have full effect.


  • Layer Attenuation

The Value to be incrementally added or subtracted to the previous value for each Layer added on top.

This is great introduce changes on a per layer level so that features that are buried deeper have a darker value than the ones

on top. Use Value Offset to globally add or remove value.

Note that Value Shift Mix on each each texture slot needs to be at 1.0 for it to have full effect.


Effect of Layer Attenuation - Lower layers remain constant in value, upper layers get lifted


  • HSV Seed

A randomization value for Hue / Saturation + Value Shift.


TRANSFORM TAB


The Triplanar Settings control the projection of the texture scattering in 3d space.

The settings are similar to a regular Triplanar Node found in Mari.


  • 3D Scale

Will increase the size of the projection.

This is a very similar effect to changing the UV Repeat in the UV Settings.


  • Projection Rotate X/Y/Z

Will change the rotation of the Triplanar 'Projection Cube' in space.

This should not be confused with changing UV Rotation which will rotate the projected image on

each side of the projection.


Projection Rotate is useful if your asset is not perfectly aligned in the main world space axis X Y and Z

and you see projection stretching as a result of it.


Sample of rotating a projection in 3d space. While this example is using

 an Axis Projection Node the concept is the same for the Texture Scatter Triplanar Node


  • Edge Falloff Start

The Edge Falloff Start determines the minimum angle where the projection

starts to be fully opaque


  • Edge Falloff End

The Edge Falloff End determines the maximum angle where the projection

starts to be fully transparent


  • Edge Falloff

The Edge Falloff Curve determines the general Falloff of each projection axis to its sides.

This is similar to adjusting the Edge Falloff Start and Edge Falloff End Sliders however

it allows you to create non-linear edge blending


  • Jitter Intensity

Jitter will make the edges of projections less uniform/straight.

The Jitter Intensity determines the amplitude of the the Jitter.


You can overwrite the Noise used for jittering the edges by mapping the Jitter Noise Port in the Nodegraph


  • Jitter Scale

Determines the Frequency of the internal Noise used for jittering.


Jitter Scale is ignored if something is attached via the Nodegraph to the Jitter Noise Port


Modifying UV Settings does not negatively impact performance since it is run on the finished 'scattered' result.


  • UV Repeat

Will repeat the result of the scattering x-amount of times.


  • U Scale

Will scale the result of the scattering along U.


  • V Scale

Will scale the result of the scattering along V.


  • UV Rotation

Will rotate the result of the scattering for all axis of the Triplanar Projection


  • UV Rotation Right

Will rotate the UVs just along the X-Axis of the Triplanar Projection.


  • UV Rotation Top

Will rotate the UVs just along the Y-Axis of the Triplanar Projection.


  • UV Rotation Front

Will rotate the UVs just along the Z-Axis of the Triplanar Projection.


  • U Offset

Will offset the result of the scattering along U.


  • V Offset

Will offset the result of the scattering along V.


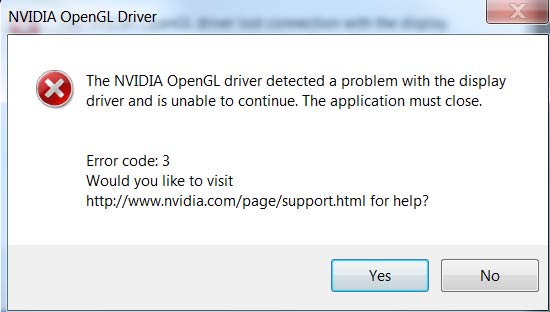
Windows Users - avoiding Display Driver time outs


Unfortunately on Windows the Texture Scatter can let your display drivers time out during baking / flattening

when high Layer counts in the Node are set. This can happen even on the most high-end video cards

due to the hugely expensive texture bombing operations being run.


The 'crash' is the result of an automated 'timeout' setting in your windows registry after which Windows determines

your display driver is unresponsive -- even if it is in fact just busy with a complex operation.


Increasing TDR Delay


  • First try increasing your Windows Display Driver Timeout Delay. A Step-by-Step Guide can be found here


Working around the display driver timeout:


  • Mari has an option in the preferences to split baking into smaller chunks, therefore giving the display driver

a continuous signal so it doesn't time out. 


    • In Mari go to EDIT / PREFERENCES


    • Go to the GPU Tab and set your 'Max Render Size for Baking' to 256.

You can turn it back to default (1024)  after you are done with the bombing procedure or leave it as is.


    • Your baking and flattening process should now run smoothly.


  • Another alternative is raising the setting 'Deferred Quad Split Count' in your GPU Settings


  • Alternatively reduce the complexity in the Texture Scatter 2D Node by reducing the Layer Slider.