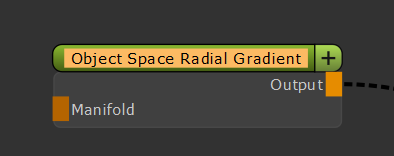
Object Space Radial Gradient


  • Where to find it:


    • Add Procedural Layer / Procedural / Extension Pack / Generators


    • NodeGraph / Right Mouse Click / Add Nodes / Procedurals / Extension Pack / Generators


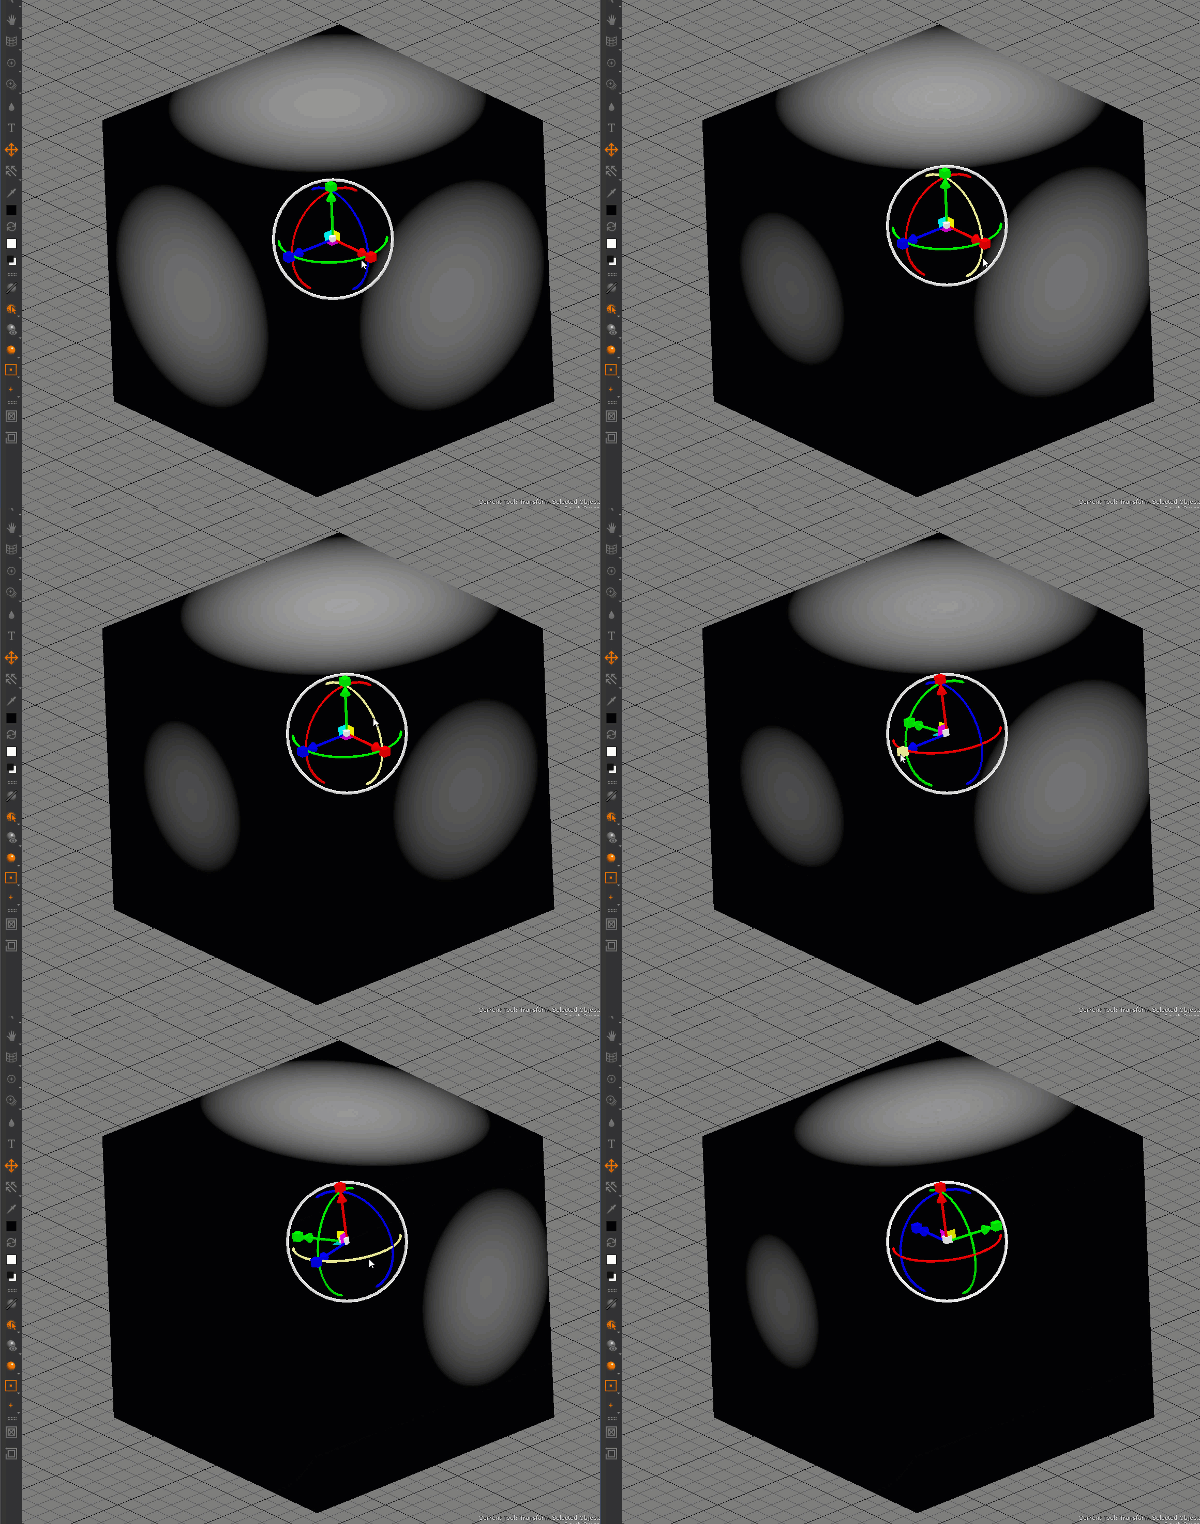
The Object Space Radial Gradient will create a 3d radial gradient in around a defined point in your scene.


How to position the "sphere" in 3D Space

Step by Step:


The Node utilizes locators to define positions and transformation.


To use the Locators, the easiest way is to use Extension Packs Dynamic Locator System.


1) Select the Node or Layer


2) Click on the 'Transform Selected' Tool in the Mari Tools Toolbar


3) If a popup window appears, select which locator you want to modify. If the 'All' Option is available, one locator will control all other attributes


4) Transform the Node's properties using the Locator


  1. You can uniformly scale by pressing CTRL + SHIFT and clicking on one of the scale boxes

  2. By holding down CTRL you can snap rotations in increments. The Increments can be set in the Toolbar Stepping Angle Spinbox

  3. You can align a Locator to your view by pressing Align to View in the Toolbar


  1. You can adjust the size of the Locator by modifying the Locator Size Spinbox in the Toolbar


Node Overview


Node Ports


  • Manifold

The 'Manifold' connection can be used to feed in a coordinate system for the evaluation of the gradient.

Possible node connections are for example the 'Manifold 3D', 'Manifold UV', 'UV', 'Position' etc.


Node Properties


MAIN TAB


  • Color A/B

Color for the center of the gradient to its outside (A to B)


  • Invert

Flips the distribution of the color from B to A


  • Size

The size of the radial gradient around its pivot. If the 'Relative to Bounding Box' checbox is off
this is an absolute worldspace value, otherwise it is a percentage of the current Objects Bounding Box Size


  • Relative to Bounding Box

Determines how the Size Value is interpreted.

If the checkbox is off, the size value is an absolute worldspace value, otherwise it is a percentage of the current

Objects Bounding Box Size


  • Intensity

A Gain Multiplier on the values generated by the gradient


  • Gradient Curve

The Gradient Profile


TRANSFORM TAB


  • Gradient Center

Lets you define the gradient center by selecting or creating a locator that you can position in your viewport.

You can create a new locator by clicking the '+' button next to the dropdown, then clicking the 'p' button next to it

to edit it.
Alternatively you can use Extension Pack's Dynamic Locator system.
Simply Activate the Transform Tool in the Mari Tools Toolbar, while the Node/Layer is selected


The Transform Tool in the Mari Tools Toolbar


  • Transform

Lets you define the transformation (scale, rotation) of the gradient, by selecting or creating a locator that you can position in your viewport.

You can create a new locator by clicking the '+' button next to the dropdown, then clicking the 'p' button next to it

to edit it.


Alternatively you can use Extension Pack's Dynamic Locator system.
Simply Activate the Transform Tool in the Mari Tools Toolbar, while the Node/Layer is selected


The Transform Tool in the Mari Tools Toolbar


Extra Attributes vs. Locators


Please note the options below are working on top of any locators created, meaning that by modifying the extra attributes the locator position will no longer be 100% representative of your  pivot position


  • Center Gradient on Object

With this checkbox turned on the Spherical Gradient will be generated at the center of the bounding box by default and 

the XYZ Offset sliders will transform the pivot relative the the Object center.


  • X / Y / Z Offset

The X, Y and Z Offset to your Sphere Pivot relative to its original position (world 0 or locator position)


    • Offset

A secondary offset on each main slider with a finer granularity on the slider for precision positioning