Smart Mask Setup Tool Preferences |
The Smart Mask Setup Tool Preferences allow you to configure the Setup Tool precisely to your needs.
- Where to find it:
- Smart Mask Setup Tool Dialog
![]()
- Nodegraph / Right Mouse Click / Masks / Smart Mask Preferences
- Main Window / Scripts / Nodegraph / Masks / Smart Mask Preferences
- Reporting
- Channel Naming
- Node Port Aliases
- Backdrops
- Automatic Blur Settings
- Export / Import Preferences
Preferences are covered in the video below from 14:10 onwards
Reporting |
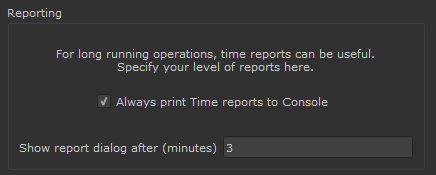
- Always print Time reports to Console
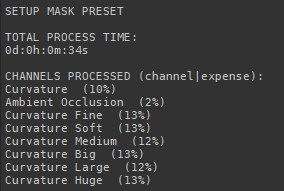
If on the Smart Mask Setup Tool will always print out a summary of its activity to the Python Console.
Percentage of time spend is displayed behind each processed channel.
Status Print out in the Python Console
- Show report dialog after (minutes)
Apart from the print outs done to the Python Console, the Smart Mask Setup Tool can also show a summary dialog after processing is done, so you do not
need to go to the Python console to obtain this information.
The Show Report Dialog after Setting determines the Number of Minutes of Processing the Setup needs to take in order to display a Report Dialog at the end.
This way only long running operations show a summary.
Channel Naming |
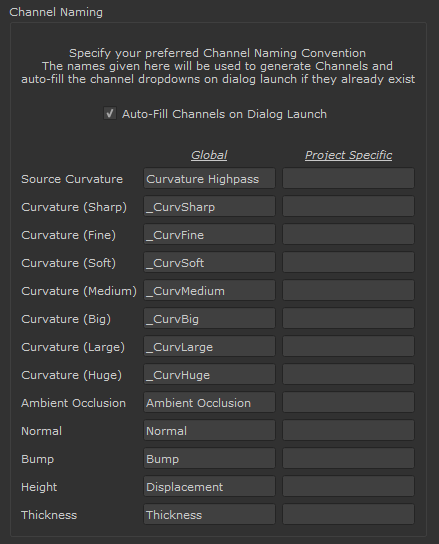
- Channels
The Channel Naming Section serves multiple purposes.
- It defines the naming convention for newly created Channels (e.g. for the different Curvature Variation Maps - fine, soft, medium etc.
- It defines the Channel Names the Smart Mask Setup Tool should use to auto-populate its dropdowns if the Auto-Fill Channels on Dialog Launch Checkbox
is ticked on
Node Port Aliases |
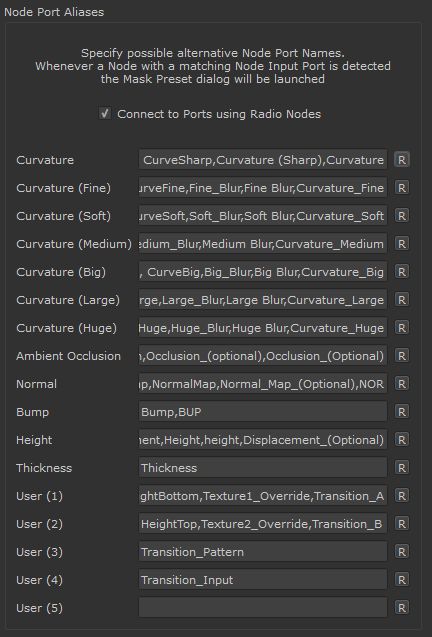
- Port Names
The Node Port Aliases Section defines Port Names that trigger the Smart Mask Setup Tool dialog to open when it detects a node with at least one specified Alias
is created through the Mask Shelf.
Port Names found, are listed as available Connection Dropdowns in the Smart Mask Setup Tool, allowing you to assign a Channel to them.
Apart from a series of standard Items such as Curvature, Normal, Height etc. you can define up to 5 User Aliases.
For example by default the User(1) and User(2) Field contain the port names HeightBottom and and HeightTop.
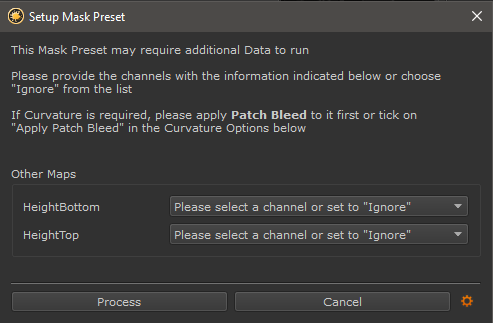
As a result if a Node such as the Height Blend Node would be created through the Mask Shelf, the Smart Mask Setup Tool dialog would open allowing you to assign channels
to the Height Top and Height Bottom Port of the Node (even when created through the Layerstack)
Example of the Smart Mask Setup Tool Dialog with
the Height Blend Node saved as a Mask Preset and re-imported into Mari
- Connect to Ports using Radio Nodes
When ticked on connections to presets to a selected Channel are always created through a Radio Transmitter / Radio Node Connection.
When ticked off connections to preset are direct links between the selected channels and the preset
Backdrops |
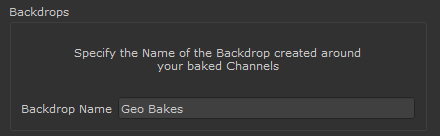
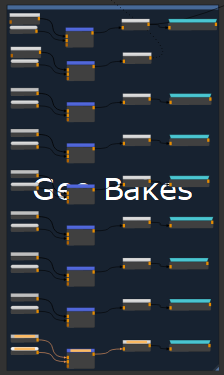
- Backdrop Name
Allows you to set the name of the Backdrop that is created behind the generated maps (Curvature fine, soft etc.)
Automatic Blur Settings |
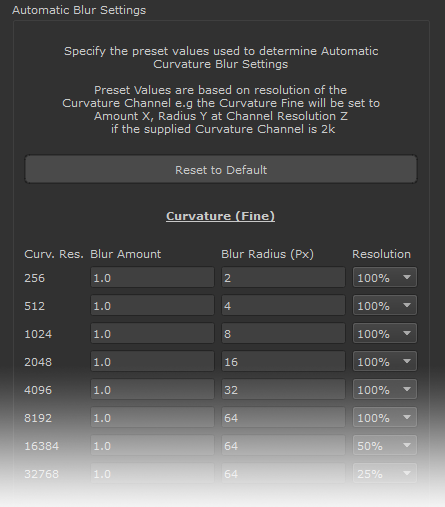
The Automatic Blur SettingsI Section holds the default Blur Settings for generating Curvature Variation Maps (Curvature Fine, Soft, Big etc.).
The values specified here are used to populate the Curvature Options in the Smart Mask Setup Tool Dialog if the Set Blur Relative to Curvature Resolution
Checkbox is ticked on.
- Reset to Default
Will reset all values to the default specified for Extension Pack
- Blur and Resolution per Curvature Variation
The Curvature Blur Options determine the Blur Amount and Blur Radius for each Curvature Variation Map, generated by the Tool.
- Curvature Resolution
Determines the Resolution of the User Supplied Curvature Channel. If the Resolution of the Curvature Channel is e.g. 2048x2048 pixels,
the settings from the 2048 row are used to populate the Curvature Options in the Smart Mask Setup Tool Dialog
- Blur Amount
The Blur Amount is the "Opacity" with which the resulting Blur is overlayed over the original Curvature Map. A value of 1.0 is usually the best for all cases
- Blur Radius (px)
The Blur Radius determines the amount of pixels around each pixel that should be blurred.
The values here are absolute pixel values, meaning that a blur radius of 200 is always only evaluating 200 pixels, resulting in a different look when applied to a
1k Curvature Channel or a 4k Curvature Channel.
- Resolution
Blurring can be a very processing expensive operation especially with high Blur Radius values required for Curvature Variation Maps Big, Large and Huge.
Depending on the Resolution of the supplied Curvature Map in the Baked Maps Section of the Dialog the necessary Blur Radius for these Curvature Variations
would be so large that computation would take an unreasonable amount of time.
The Resolution field lets you set you define a resolution in percentage of the original Curvature Channel size to generate Curvature Variations at.Since large blurs often result in far less details in a map it is often not required to maintain the original Curvature Channel resolution. For example:
- The original Curvature Channel supplied in the Baked Maps Section of the Dialog is 4096x4096 pixels.
- For optimal results in the Curvature Huge Variation usually a Blur Radius of 1024 px would be required
- By setting the Resolution of the Curvature Huge Variation to 50% the Curvature Huge Channel will be generated at 2048x2048x pixels
- requiring only a Blur Radius of 512 pixels
Export / Import Preferences |
![]()
The Export and Import Buttons allow you to save a config file with all your Smart Mask Setup Tool Preferences to Disc. Useful for backup or to share with other Team Members
PREVIOUS PAGE: Smart Mask Setup Tool